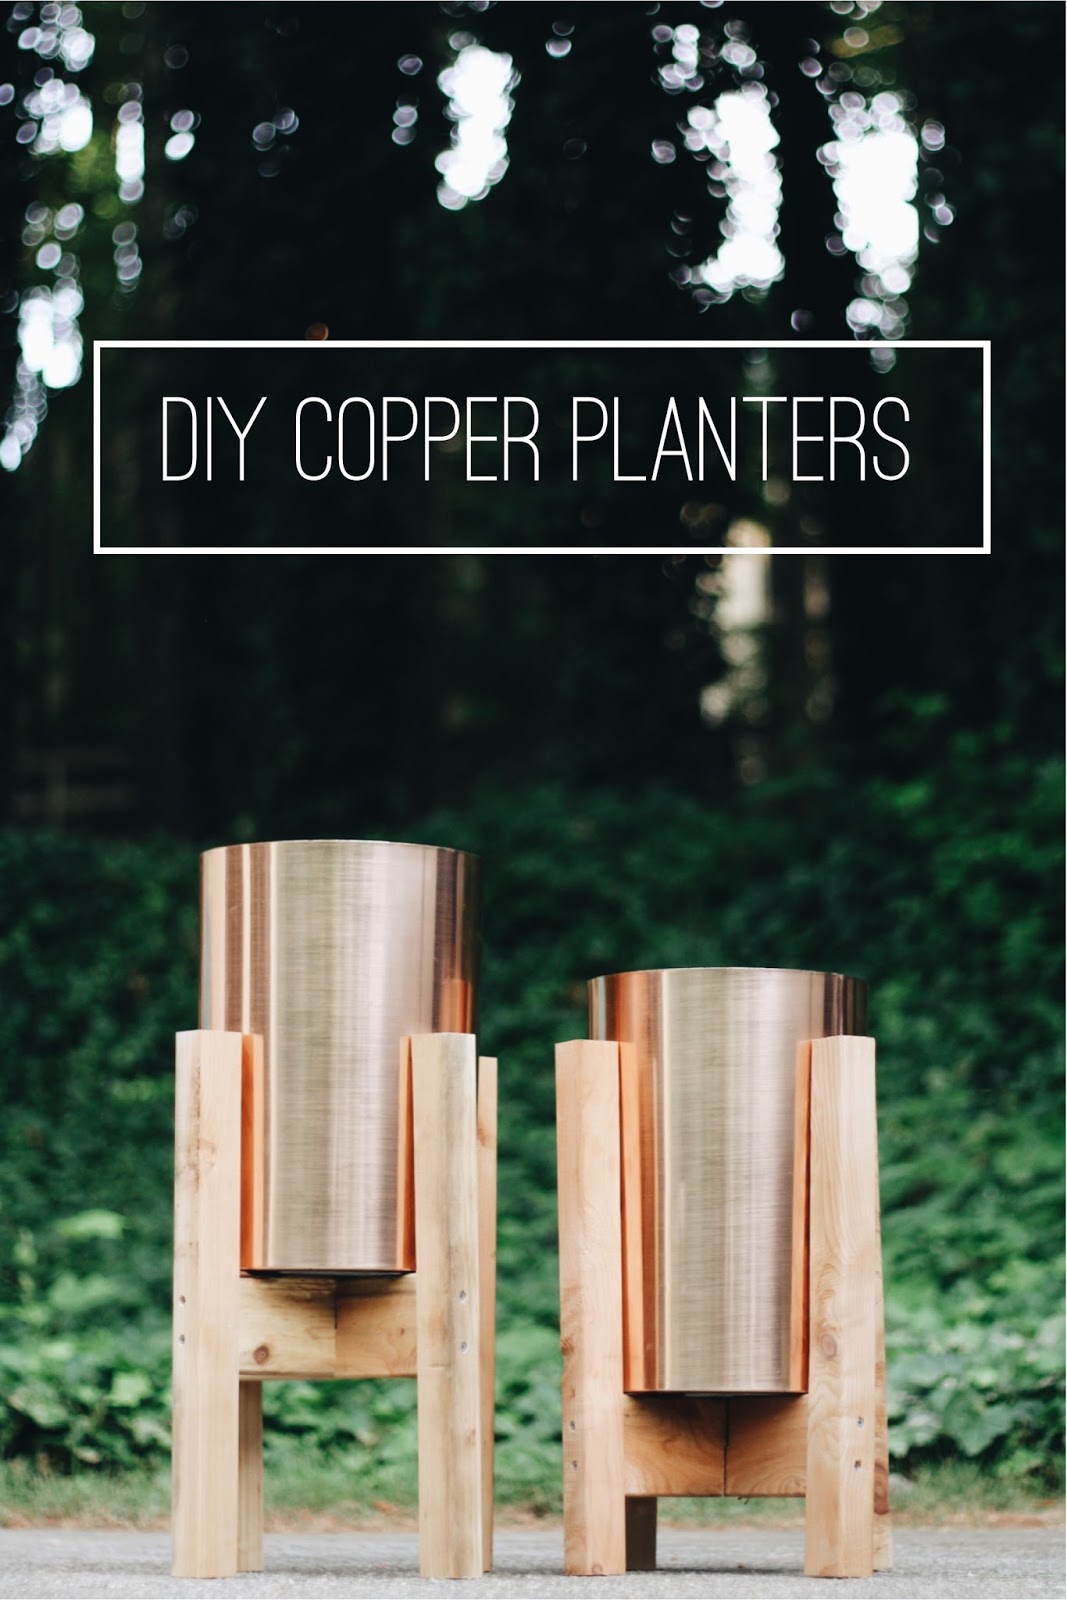
DIY Copper Planters
A few weeks ago, I spied these little copper beauties that I couldn't help but imagine would make the coolest planters ever. Turns out, they were trash cans, but at only $15, I had to have them. I brought them home to Brandon, and we decided they needed doctored up a bit. I was inspired by these West Elm planters that are so so beautiful, and hoped that we could DIY these into something similar. The total cost for each planter was only around $20!
I'm sooo excited about how they turned out!! Brandon might be a bit worried about how much I love them because that just means more wood working projects in his future! ;)
Tools Required // Table Saw or Router and circular saw or miter saw, Drill, Drill Bits & Screws, 2 - 8' 2x4s (cedar preferably for outdoor use), Copper Planter
Steps // 1. Cut the 2x4 into four 18'' pieces and two 10'' pieces (NOTE: the 10'' measurement is based on the circumference of our planter going into this stand, so your measurements will change if you use a different size planter)
2. Rip the four 18'' boards in half vertically (hot dog style). Note that this is not necessary depending on the boards you buy or you could just have a chunkier style of planter, we wanted our legs to be skinnier with the wood we already had.
3. Take the four 10'' boards, and measure 4 1/4'' from each side, which will leave you with a 1 1/2'' notch to cut out. You can either use atable saw (by setting the blade height to cut halfway through the board, 1 3/4 inches here) or router out the notches. Dealers choice ;)
4. Hand-fit the 10'' support boards to fit nicely (each 2x4 is a bit different, so you may need to widen the gap a bit).
Assembly // 1. Lay the 18'' boards on their side and pre-drill holes from the boards into the 10'' support boards. The shorter stand has the top of the support board 6'' from the ground, the taller stand has it 10'' from the ground, but it is up to you how tall you want your planter to be!
2. Be sure to put the ripped side of the board inward where they will connect to the supports.
3. Put 2 screws into the board to support it, flip and repeat the process to connect the other leg.
4. To make the other leg of the stand, make sure the notch is opposite so that the two sets of legs will fit into each other. (One top notch, one bottom notch)
5. Add two small holes in the bottom of your planter with a drill to allow for water drainage. I'm not sure if this is necessary with every kind of plant, we actually didn't do it for these because they don't require much watering.

Not mentioned in diagram: super cute sandals that are totally impractical for woodworking ;)
You can screw the legs together at the notch to make the planter one piece, but keeping them independently gives greater flexibility for non-level ground. You can decide to stain or coat with an outdoor sealant. If outdoor, use SPAR varnish which must be applied outdoor, in very well ventilated area.
And there you have it! Drop your copper planter into your new stand, and make a new home for your favorite plants!!
These planters are part of a mini patio refresh that we have been working on & I can't wait to share more! Outdoor space is everything to us right now, and since we don't have a lot of it, we have to make the most of it! ;)
Hope you all had an amazing three day weekend. XO


Comments
Post a Comment