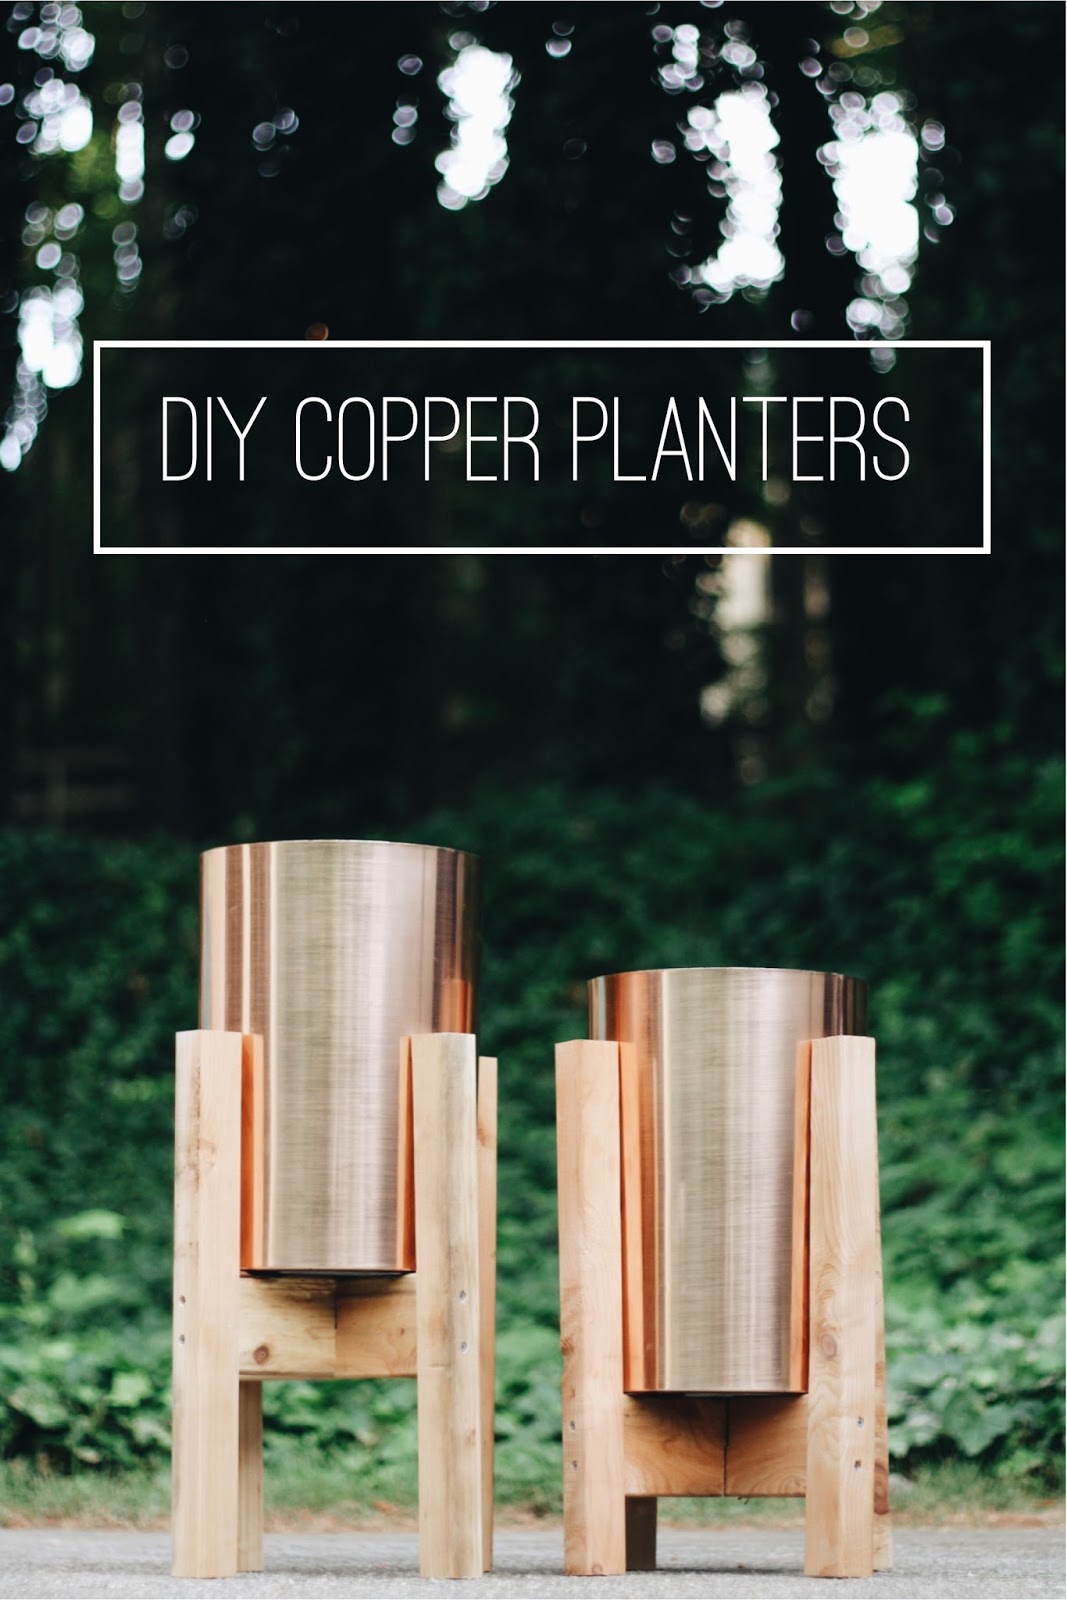
DIY Copper Planters

A few weeks ago, I spied these little copper beauties that I couldn't help but imagine would make the coolest planters ever. Turns out, they were trash cans, but at only $15, I had to have them. I brought them home to Brandon, and we decided they needed doctored up a bit. I was inspired by these West Elm planters that are so so beautiful, and hoped that we could DIY these into something similar. The total cost for each planter was only around $20! I'm sooo excited about how they turned out!! Brandon might be a bit worried about how much I love them because that just means more wood working projects in his future! ;) Tools Required // Table Saw or Router and circular saw or miter saw, Drill, Drill Bits & Screws, 2 - 8' 2x4s (cedar preferably for outdoor use), Copper Planter Steps // 1. Cut the 2x4 into four 18'' pieces and two 10'' pieces (NOTE: the 10'' measurement is based on the circumference of our planter going into this stand, so your meas...


